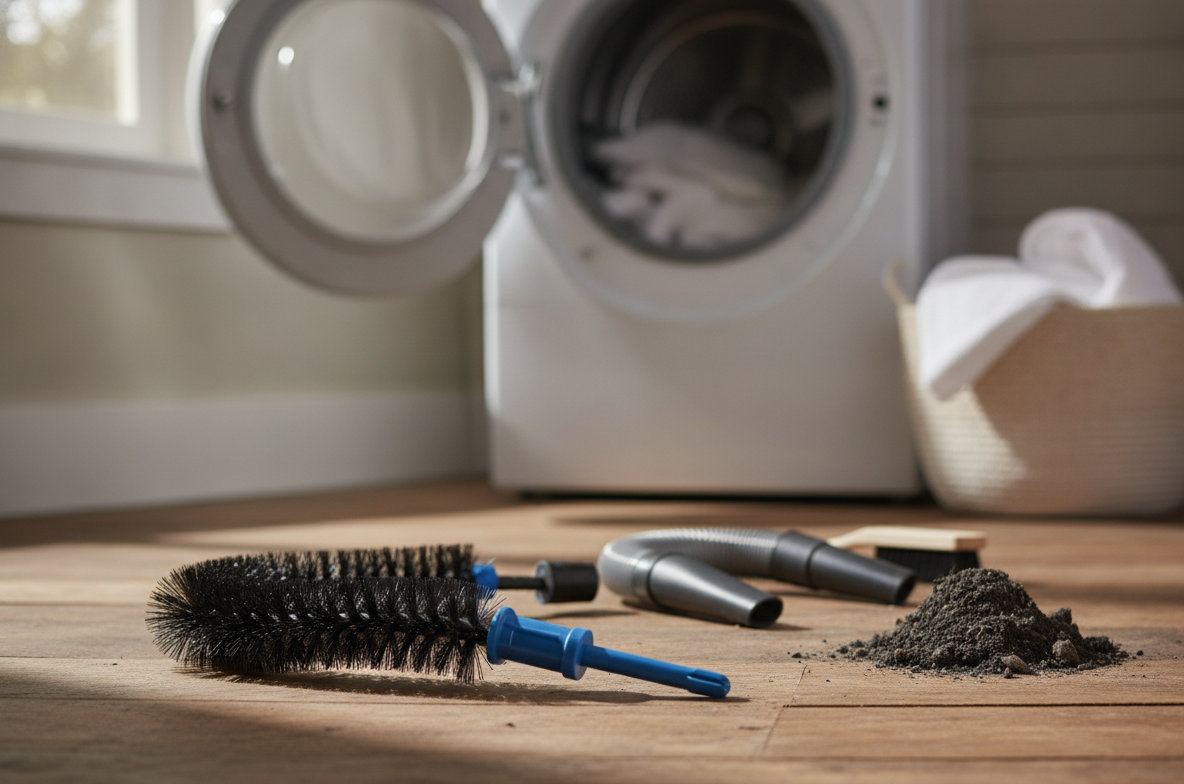
A musty smell clinging to freshly dried laundry or dark streaks appearing on light fabrics are clear signs your dryer drum needs cleaning. Over time, lint, fabric softener residue, and even stray items like pens can leave deposits inside the drum. These residues reduce drying efficiency and can transfer odors or stains to your clothes. Cleaning the inside of a dryer drum regularly restores its performance and helps keep your clothes fresh. This article explains how to clean your clothes dryer drum, addressing general grime and specific challenges like ink stains.
Why Clean Your Dryer Drum?
Many homeowners overlook cleaning the dryer drum itself, focusing only on the lint trap. However, a dirty drum can lead to several problems. Fabric softener sheets leave a waxy film, especially if used frequently. Dyes from clothes can transfer, creating discolored patches. A forgotten crayon or pen can melt, leaving a sticky, dark mess. These residues not only make your clothes smell less fresh but also affect drying times. A clean drum helps clothes tumble freely and heat evenly, leading to quicker drying cycles. If your electric dryer takes too long to dry clothes, a dirty drum might contribute to the problem. Regular cleaning also helps maintain the longevity of your appliance, an important part of any home appliance maintenance checklist.
When to Clean Your Dryer Drum
The frequency of cleaning depends on your dryer usage. For an average household, cleaning the dryer drum every three to six months is a good practice. If you notice any of the following, clean it sooner:
- Clothes come out with streaks or stains.
- Freshly dried laundry has an unusual odor.
- The dryer takes longer than usual to dry clothes.
- Visible residue or lint buildup inside the drum.
- A melted item, like a pen or crayon, has left a mark.
Safety First: Disconnect Power
Before you begin any cleaning or maintenance on your dryer, always disconnect it from the power supply. For electric dryers, unplug the power cord from the wall outlet. For gas dryers, turn off the gas supply valve and then unplug the power cord. This prevents accidental startup and reduces the risk of electrical shock. A basic electrical test kit can confirm power is off, though simply unplugging is usually sufficient for this task.
Tools and Materials You Will Need
Gather these items before you start cleaning your dryer drum:
- Soft cloths or microfiber towels
- Mild household cleaner (e.g., dish soap, all-purpose cleaner)
- White vinegar
- Rubbing alcohol (isopropyl alcohol)
- Baking soda (optional, for odors)
- Spray bottle
- Rubber gloves
- Non-abrasive scrubbing pad or sponge
- Flashlight (to inspect dark areas)
- Plastic scraper (for melted residue)
- Acetone (nail polish remover) or denatured alcohol (for ink stains)
How to Clean the Inside of a Dryer Drum: General Cleaning
This process takes approximately 30-60 minutes, depending on the level of grime.
Remove Lint and Debris
Open the dryer door and use a vacuum cleaner with a brush attachment to remove any loose lint or debris from inside the drum. Pay close attention to the crevices and the lint trap housing. Reach as far as you can into the drum to pick up any stray items.
Wipe Down the Drum with Damp Cloth
Dip a soft cloth in warm water. Wring it out so it is damp, not dripping wet. Wipe down the entire interior surface of the dryer drum. This helps remove loose dust and provides a base for deeper cleaning.
Apply a Mild Cleaner
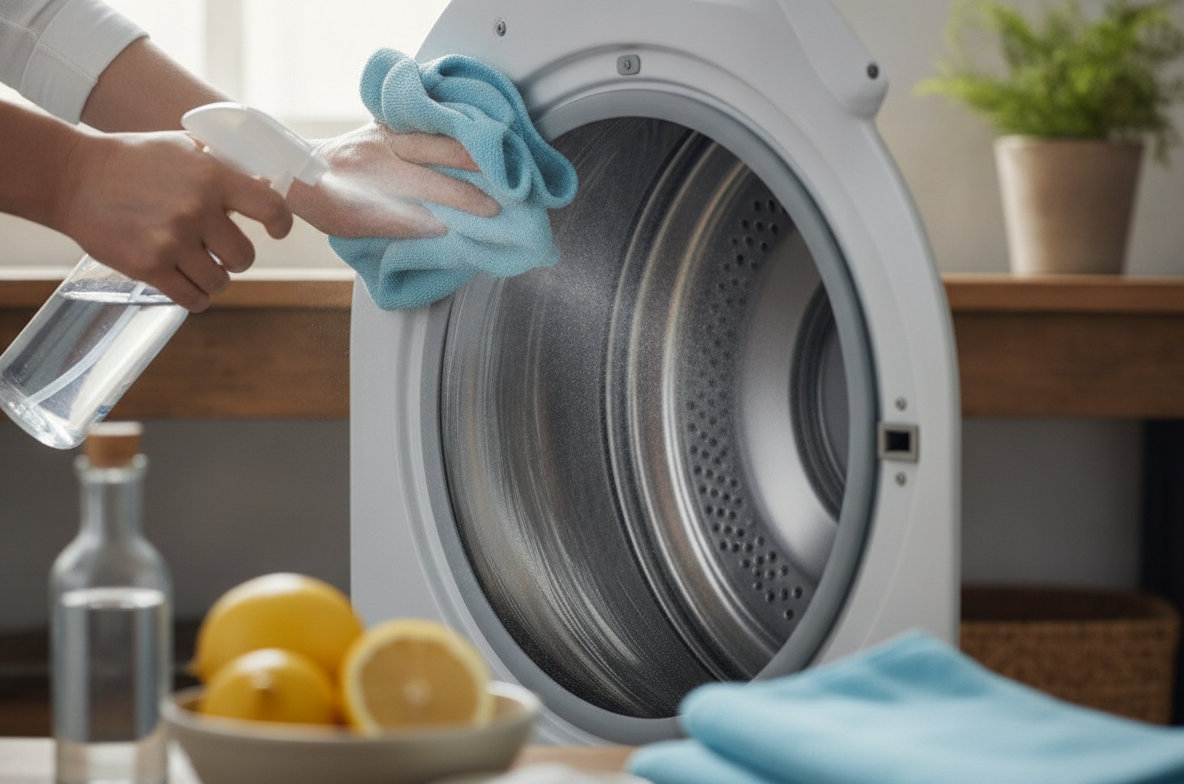
Mix a small amount of mild dish soap with warm water in a spray bottle, or use an all-purpose household cleaner. Lightly spray the inside of the dryer drum. Let the cleaner sit for 5-10 minutes to loosen any residue. Do not oversaturate the drum.
Scrub Away Residue
Using a clean, soft cloth or a non-abrasive sponge, scrub the interior surfaces of the drum. Work in small sections, applying gentle pressure. You will see lint, fabric softener film, and other grime transfer to your cloth. For stubborn spots, sprinkle a bit of baking soda onto a damp cloth and gently scrub. The mild abrasive action of baking soda can help lift stuck-on dirt.
Rinse and Wipe Clean
Dampen a fresh cloth with plain water and wipe down the drum thoroughly to remove all traces of the cleaner and loosened residue. Repeat this step multiple times if necessary, using a clean cloth each time. You want to make sure no cleaning product remains inside the drum, as it could transfer to clothes.
Dry the Drum
Use a dry, clean cloth to wipe down the drum. Make sure the interior is completely dry before reconnecting the power or using the dryer. You can also leave the dryer door open for an hour or two to air dry.
How to Get Ink Off a Dryer Drum: Special Stain Removal
Ink stains are particularly challenging because heat from the dryer can bake them onto the drum surface. Addressing an ink stain as soon as you discover it gives you the best chance of complete removal. This section explains how to get ink out of a dryer drum using specific solvents.
Identify the Ink Type (If Possible)
Different inks respond to different solvents. While you might not know the exact ink, ballpoint pen ink is common. If it's a marker or other specialty ink, the approach might vary slightly. Most household ink stains can be removed with rubbing alcohol or acetone.
Apply Solvent to a Cloth
Do not spray solvents directly onto the drum. Instead, dampen a clean, soft cloth with rubbing alcohol (isopropyl alcohol) or acetone (nail polish remover that contains acetone). Test a small, inconspicuous area of the drum first to make sure it does not cause discoloration or damage. Acetone is strong, so use it sparingly.
Blot and Wipe the Ink Stain
Gently blot the ink stain with the dampened cloth. Do not rub vigorously at first, as this can spread the ink. Allow the solvent to penetrate the stain for a few seconds. Then, wipe the stain away. You may need to use multiple clean sections of the cloth as the ink transfers. For stubborn ink stains, a plastic scraper can help carefully lift any dried, raised ink before applying solvent.
"When tackling ink stains, patience is key. Repeated applications with fresh cloths are often more effective than one aggressive attempt. Always ventilate the area well when using strong solvents," advises a DIY enthusiast.
If rubbing alcohol is not effective, try denatured alcohol, which is stronger. Use caution with denatured alcohol, as it has stronger fumes and requires good ventilation.
Rinse Thoroughly
After the ink stain is gone, wipe the affected area and the surrounding drum surface with a cloth dampened with plain water. This removes any solvent residue. Repeat with a fresh water-dampened cloth. Any remaining solvent could damage clothes or create fumes during the next drying cycle.
Run a 'Sacrificial' Load
Once the drum is completely dry, and you have made sure all solvents are gone, run a load of old towels or rags on a high heat setting. This helps to burn off any lingering solvent fumes or microscopic residues before you dry your regular laundry. Check the towels afterward to make sure no ink or chemical residue transferred.
How Do You Clean a Dryer Drum with Melted Plastic or Crayon?
Melted plastic or crayon requires a slightly different approach than ink. The goal is to remove the physical residue first.
Scrape Off Excess Material
Allow the residue to cool completely. Use a plastic scraper or an old credit card to gently scrape off as much of the hardened plastic or crayon as possible. Be careful not to scratch the drum surface. Avoid metal tools for this step.
Apply Heat to Soften (Optional, with Caution)
For very stubborn, thin layers of melted plastic, you can try softening it slightly. Dampen a cloth with warm water and place it over the residue for a few minutes. Alternatively, briefly run the dryer on a low heat setting for 5-10 minutes, then immediately unplug it and try scraping again while the residue is warm and pliable. Do not overheat the drum.
Use a Cleaner for Residue
Once the bulk is removed, you will likely have a greasy stain. Apply a non-abrasive household cleaner or a paste of baking soda and water to the remaining residue. Let it sit, then scrub gently with a non-abrasive pad. Mineral spirits can also dissolve crayon wax, but use it sparingly on a cloth and make sure to rinse thoroughly afterward.
Clean and Dry
Wipe the drum clean with a water-dampened cloth, then dry it completely. Run a load of old rags as a test cycle to make sure no residue remains.
Preventative Measures for a Cleaner Dryer Drum
Keeping your dryer drum clean is easier with a few preventative habits:
- Check Pockets: Always check clothing pockets for pens, crayons, lip balm, and other items before loading them into the dryer.
- Use Fabric Softener Sparingly: Fabric softener sheets contribute to waxy buildup. Consider using liquid fabric softener in your washing machine or wool dryer balls as an alternative.
- Clean the Lint Trap: Clean the lint trap after every single load. This prevents lint buildup and improves air circulation, which can also help reduce residue accumulation.
- Wipe Down Regularly: A quick wipe down of the drum with a damp cloth once a month can prevent major buildup.
When to Call a Professional
Cleaning the dryer drum is a DIY task for most homeowners. However, if you encounter problems that seem related to the dryer's function rather than just a dirty drum, a professional appliance technician can help. For instance, if your dryer is making a loud thumping noise when running, that indicates a mechanical issue beyond simple cleaning.
A clean dryer drum means cleaner, fresher clothes and a more efficient appliance.