
Washing Machine Cleaning Brush,Dryer Vent Cleaner Kit,Crevice Brush for Bathroom, Shower & Kitchen - Scrub Brushes with Long
- 1.The Cleaning Companion for Washers and Dryers: This dryer vent cleaner kit is a reliable tool for.
- 2.Multi-Purpose Cleaning Brush Set:This 8-piece kit includes a hard-bristle crevice cleaning brush, shower.
- 3.Deep Clean Every Hidden Corner:The dryer lint brush and lint trap cleaning tool remove dangerous buildup.
- 4.Efficient and Time Saving: With this washing machine cleaning brush sets, you no longer need to search.
A sour odor on freshly washed clothes or visible grime inside the appliance signals a dirty washing machine drum. Over time, detergent residue, fabric softener, hard water minerals, and lint accumulate in the washer tub. This buildup not only causes unpleasant smells but can also transfer grime to your laundry, making clothes less clean. Cleaning the drum regularly prevents these issues and keeps your machine working efficiently.
Many people overlook the need to clean the appliance that cleans their clothes. However, a washing machine drum requires consistent attention to perform its best. This guide provides a step by step process for a deep clean, suitable for both front-load and top-load machines.
Why Clean Your Washing Machine Drum?
The interior of your washing machine, specifically the drum or tub, is a breeding ground for bacteria, mold, and mildew if not cleaned. Each wash cycle leaves behind traces of dirt, soap scum, and body oils. These residues combine with moisture and warmth to create an ideal environment for microbial growth. This growth results in the musty smell often associated with dirty washers, which can then transfer to your clothes.
Beyond odors, mineral deposits from hard water can build up on the drum's surface. This hard water scale reduces cleaning effectiveness and can cause wear on internal components. Regular cleaning improves the machine's longevity and ensures your clothes come out truly clean and fresh.
How Often Should You Clean Your Washer Drum?
The frequency of cleaning depends on usage and water hardness. For most households, cleaning the washing machine drum every one to three months is sufficient. If you live in an area with hard water, wash frequently, or notice odors developing sooner, consider cleaning monthly. Front-load washing machines often require more frequent attention due to their tightly sealed doors, which can trap moisture and promote mildew growth in the gasket.
Tools and Materials You Will Need
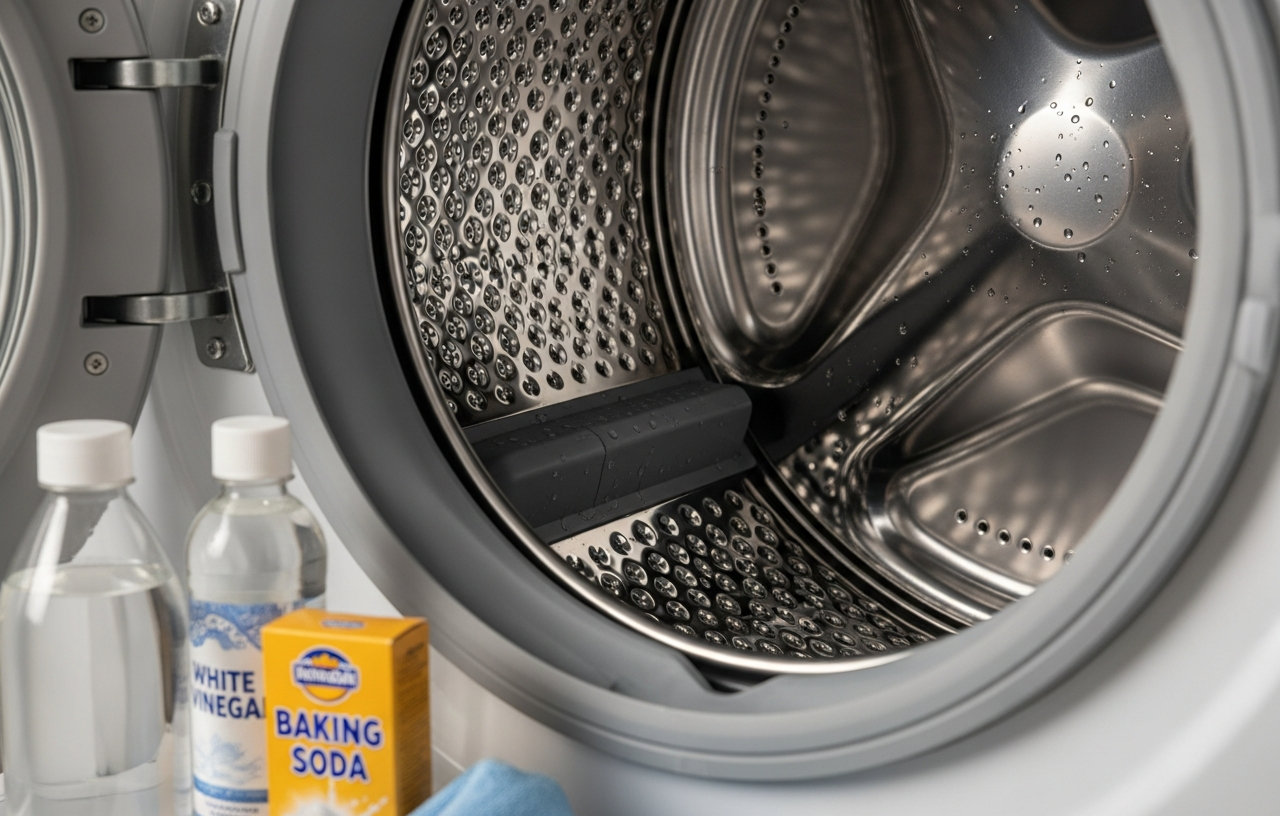
- White distilled vinegar
- Baking soda
- Microfiber cloths or old towels
- Spray bottle
- Warm water
- Small brush (an old toothbrush works well for crevices)
- Washing Machine Cleaning Brush, Dryer Vent Cleaner Kit, Crevice Brush for Bathroom, Shower & Kitchen - Scrub Brushes with Long (optional, but highly recommended for tight spots)
- Rubber gloves (optional, for sensitive skin)
Safety First: Before You Begin
Always unplug your washing machine from the power outlet before performing any manual cleaning or maintenance inside the drum. This prevents accidental starts and reduces the risk of electrical shock. Wear rubber gloves if you have sensitive skin or are concerned about contact with cleaning solutions. Make sure the area around the washer is well-ventilated, especially when using vinegar or other cleaning agents.
step by step Guide: How to Deep Clean Your Washing Machine Drum
Step 1: Empty the Washer Completely
Time estimate: 1 minute
Before starting any cleaning process, make sure the washing machine drum is completely empty. Remove all clothes, linens, or any other items. Check pockets for small objects that might have been left behind.
Step 2: Clean the Detergent Dispenser
Time estimate: 5-10 minutes
Detergent and fabric softener dispensers are common spots for mold and residue buildup. If your dispenser is removable, take it out and wash it thoroughly in your sink with hot water and a brush. Use a small brush to scrub away any sticky residue. For non-removable dispensers, spray a solution of equal parts white vinegar and water into the compartments. Let it sit for a few minutes, then scrub with a brush and wipe clean with a damp cloth. For a more detailed guide, see our article on the best way to clean a washing machine detergent dispenser.
Step 3: Run a Hot Water Cleaning Cycle with Vinegar and Baking Soda
Time estimate: 1-2 hours (cycle time)
This step tackles the unseen buildup within the washer's internal mechanisms. For top-load machines, fill the tub with the hottest water setting. Add four cups of white distilled vinegar directly to the water. For front-load machines, pour two cups of white distilled vinegar into the detergent dispenser. Select the hottest water setting and the longest cycle available. Many modern washing machines have a dedicated "Tub Clean" or "Self Clean" cycle. If yours does, use that setting.
Allow the cycle to run for about 15-20 minutes, then pause the machine. This allows the vinegar solution to soak and break down grime effectively. After pausing, sprinkle half a cup of baking soda directly into the drum (for both top-load and front-load). The baking soda will react with the vinegar, creating a fizzing action that further loosens deposits and neutralizes odors. Resume the cycle and let it complete.
Using vinegar and baking soda together creates a powerful, natural cleaning agent. The acetic acid in vinegar helps dissolve mineral deposits and soap scum, while baking soda acts as a mild abrasive and deodorizer. This combination is highly effective for how to clean washing machine tub.
Step 4: Wipe Down the Drum Interior
Time estimate: 10-15 minutes
Once the cleaning cycle finishes, open the door and inspect the drum. You might see loosened grime or residue. Dip a clean microfiber cloth in a solution of equal parts white vinegar and warm water. Thoroughly wipe down the entire interior of the washing machine drum. Pay close attention to any visible stains, water lines, or sticky spots.
For hard-to-reach areas, like between the agitator and the tub in top-loaders, or around the edges of the drum, a specialized brush can be very helpful. The Washing Machine Cleaning Brush, Dryer Vent Cleaner Kit, Crevice Brush for Bathroom, Shower & Kitchen - Scrub Brushes with Long offers a variety of brushes that can reach deep into crevices. Its long handles and varied brush heads make it easier to scrub away stubborn buildup that cloths cannot reach. This kit is also useful for cleaning dryer vents, making it a versatile tool for your laundry room. Cleaning these hidden spots is key to truly deep clean drum in washing machine.
Step 5: Clean the Rubber Gasket (Front-Load Washers Only)
Time estimate: 5-10 minutes
The rubber gasket, or door seal, on front-load washing machines is notorious for trapping moisture, lint, and mildew. Pull back the folds of the gasket carefully. You will likely find black mold, grime, and even small objects. Spray the vinegar and water solution onto the gasket. Let it sit for a few minutes.
Use a cloth or a small brush to scrub away the mold and grime. A small crevice brush from the Washing Machine Cleaning Brush, Dryer Vent Cleaner Kit, Crevice Brush for Bathroom, Shower & Kitchen - Scrub Brushes with Long can be particularly effective here. Make sure to clean all folds and crevices thoroughly. Wipe the gasket dry with a clean cloth when finished. This step is critical for how to clean a drum washing machine, especially front-loaders, and to prevent future odors. If your washing machine smells like mildew, cleaning the gasket is usually the first step to killing it for good. You can find more targeted advice on this in our guide: Washing machine smells like mildew? How to kill it for good (front load + top load).
Step 6: Clean the Drain Pump Filter
Time estimate: 15-20 minutes
Many washing machines, especially front-loaders, have a drain pump filter designed to catch lint, coins, and other small items before they reach the pump. A clogged filter can lead to drainage problems. Locate the filter, typically behind a small access panel at the bottom front of the machine. Place a shallow pan or old towels underneath to catch any residual water.
Carefully unscrew or unlatch the filter. Water will likely drain out. Remove any debris, lint, or foreign objects. Rinse the filter under running water and scrub it with an old toothbrush if necessary. Inspect the housing for any buildup and wipe it clean. Reinstall the filter securely. This is a vital step for how do you clean a washing machine drum and to maintain overall machine health.
Step 7: Clean the Exterior
Time estimate: 5 minutes
While focusing on the inside, do not forget the exterior. Wipe down the outside surfaces of your washing machine with a damp cloth and a mild all-purpose cleaner. Pay attention to the control panel, door handle, and sides. Keeping the exterior clean contributes to the overall freshness of your laundry area.
Step 8: Run a Quick Rinse Cycle
Time estimate: 30-40 minutes
To make sure all cleaning solutions and loosened grime are completely flushed out, run a short, hot water rinse cycle with no detergent or clothes. This final rinse helps clear any remaining residue from the drum and internal hoses. Once the cycle completes, leave the washer door ajar to allow the drum to air dry thoroughly. This prevents new mildew growth.
Preventative Maintenance Tips for a Clean Washer Drum
- Leave the Door Ajar: After each wash, leave the washing machine door open for a few hours. This allows air to circulate, drying out the drum and gasket, which discourages mold and mildew.
- Use High-Efficiency (HE) Detergent: If you have an HE machine, always use HE detergent. These detergents produce less suds, which means less residue left behind in the tub.
- Use the Correct Amount of Detergent: Too much detergent creates excessive suds that do not fully rinse away, leading to buildup. Follow manufacturer recommendations.
- Wipe Down the Gasket: For front-load washers, quickly wipe down the rubber gasket after every few washes. This removes trapped moisture and lint before mold can form.
- Regular Deep Cleans: Stick to a schedule of cleaning your washing machine drum every one to three months. This proactive approach prevents major buildup and odors.
- Avoid Overloading: Overloading your machine can prevent proper rinsing, leaving more residue behind.
When to Call a Professional
Most washing machine drum cleaning can be handled by homeowners. However, if you notice persistent strong odors even after a thorough cleaning, or if the machine is experiencing drainage issues despite cleaning the filter, a professional might be needed. Issues like clogged internal hoses, faulty pumps, or severe mold infestations in inaccessible areas may require expert attention.
A service call from an appliance repair technician typically costs $80-$150. This fee often covers the diagnosis. Any repairs, such as replacing a drain pump or clearing a deep clog, would be additional. These repairs can range from $150 to $400 or more, depending on the part and labor involved. If you suspect deeper issues, consult a professional to prevent further damage. Maintaining your appliances reduces the likelihood of expensive repairs, as detailed in our Home Appliance Maintenance Checklist That Saves You $1000s.
A clean washing machine drum is essential for truly clean clothes and a fresh laundry room. Your laundry will smell better, and your machine will operate more efficiently, making laundry day a more pleasant experience.
Washing Machine Cleaning Brush,Dryer Vent Cleaner Kit,Crevice Brush for Bathroom, Shower & Kitchen - Scrub Brushes with Long
- 1.The Cleaning Companion for Washers and Dryers: This dryer vent cleaner kit is a reliable tool for.
- 2.Multi-Purpose Cleaning Brush Set:This 8-piece kit includes a hard-bristle crevice cleaning brush, shower.
- 3.Deep Clean Every Hidden Corner:The dryer lint brush and lint trap cleaning tool remove dangerous buildup.
- 4.Efficient and Time Saving: With this washing machine cleaning brush sets, you no longer need to search.


