A washing machine that shakes violently or makes excessive noise during a spin cycle often indicates an imbalance. This problem is more than just annoying. An unbalanced washer can cause wear and tear on internal components, potentially leading to costly repairs. It can also damage your floor or surrounding cabinets over time. Fortunately, knowing how to level a washing machine is a common DIY fix that usually takes less than an hour.
Many homeowners ask, "how do you level a washing machine?" The process involves adjusting the appliance's feet to ensure it sits perfectly even on the floor. This simple adjustment prevents excessive vibrations, reduces noise, and makes sure your machine operates efficiently. It is a critical part of home appliance maintenance.
Why Your Washing Machine Needs to Be Level
A washing machine spins clothes at high speeds during the rinse and spin cycles. If the machine is not level, the drum can wobble excessively. This wobble transfers energy to the entire appliance, causing it to shake, walk across the floor, and create loud thumping noises. Over time, these vibrations can loosen connections, damage the motor, or even crack the washer's frame.
An unbalanced load can also contribute to shaking. However, if the machine shakes even with a balanced load, or if it always shakes in the same direction, an uneven appliance is the most likely culprit. Learning how to level a washer is the first troubleshooting step for these symptoms.
Tools and Materials You Will Need
Before you begin, gather these items. Having them ready will make the process smoother and faster. Most of these are common household tools.
- Spirit level (a 2-foot level is ideal)
- Adjustable wrench or pliers (for leveling feet lock nuts)
- Wood shims or rubber anti-vibration pads (optional, for uneven floors)
- Flashlight (to see under the machine)
- Safety gloves (optional, for grip and protection)
Safety First: Unplug Your Washing Machine
WARNING: Always unplug your washing machine from the electrical outlet before performing any maintenance or adjustments. This prevents accidental startup and reduces the risk of electrical shock. Also, turn off the water supply to the machine by closing the hot and cold water valves located behind the washer.
How to Level a Washing Machine: step by step Guide
The entire process of how to level a washer should take about 30 to 60 minutes, depending on how difficult it is to access the machine and adjust its feet.
Step 1: Clear the Area and Position the Washer
Pull the washing machine away from the wall enough to give yourself room to work behind and around it. Make sure the water hoses and drain hose are not kinked or stretched too tightly. If your washing machine is in a tight laundry closet, you may need to disconnect the hoses and power cord completely to pull it out further. Remember to turn off the water supply before disconnecting hoses.
Step 2: Check the Floor for Levelness
Before adjusting the washer's feet, check the floor itself. Place your spirit level on the floor where each of the washer's feet will rest. A perfectly level floor makes the job easier. If the floor itself is significantly uneven, you may need to use shims or a plywood base in later steps to achieve stability for how to level a washer on an uneven floor.
Step 3: Locate the Washing Machine Leveling Feet
Most washing machines, including how to level a front load washer and top load models, have four adjustable leveling feet. These are typically threaded bolts with rubber or plastic bases. They are located at each corner underneath the machine. Some older models or commercial washers might have only two adjustable front feet and two fixed rear feet, which complicates how do you level a washing machine slightly.
Step 4: Determine Which Corners Are Low
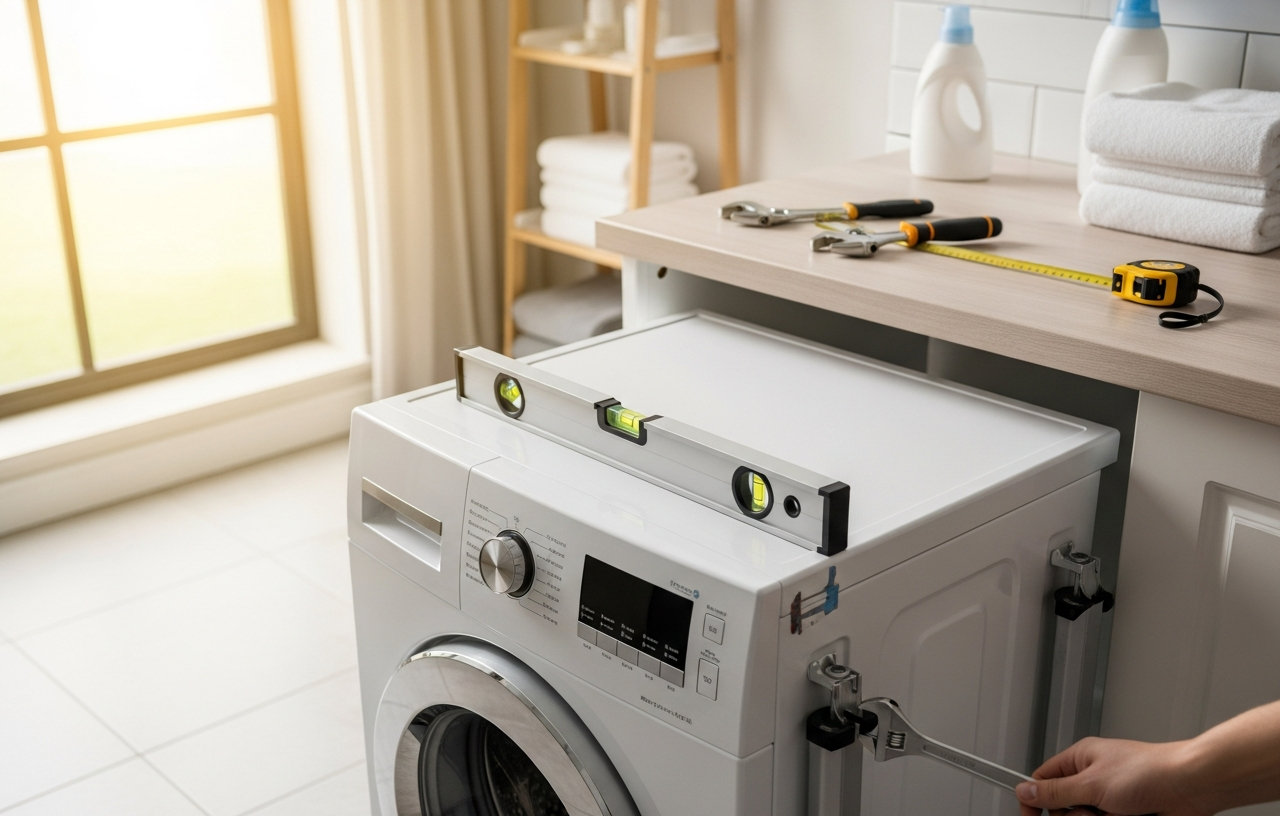
Place your spirit level on top of the washing machine, checking it from front to back and side to side. Note which corners are low. You want the bubble in the level to be perfectly centered. Press down on each corner of the washer. If a corner gives or feels wobbly, that foot needs adjustment.
Step 5: Adjust the Front Leveling Feet
The front feet are usually the easiest to adjust. Most washing machine feet have a lock nut that must be loosened before you can turn the foot itself. Use your adjustable wrench or pliers to loosen the lock nut by turning it counter-clockwise. Once the lock nut is loose, turn the foot clockwise to lower the machine or counter-clockwise to raise it. A general rule for how to level a washing machine is to raise the low corners until the machine is stable and level.
After adjusting, re-check the level with your spirit level. Once the front of the machine is level from left to right, tighten the lock nuts on both front feet by turning them clockwise. This locks the feet in place and prevents them from moving during operation.
Step 6: Adjust the Rear Leveling Feet (If Applicable)
If your machine has adjustable rear feet, the process is similar to the front. You might need to tilt the machine forward slightly to access the rear feet more easily. Have a helper assist you with this. Loosen the lock nuts, adjust the feet, re-check the level, and then tighten the lock nuts.
If your washing machine has self-adjusting rear feet, or if they are difficult to access, you may need to tilt the machine back and forth. Some manufacturers design their rear feet to self-level when the machine is rocked gently into place. Read your appliance's manual for specific instructions on how to adjust the rear feet. If the floor is uneven and the rear feet are fixed, this is where shims become important for how to level a washer on an uneven floor.
Step 7: Test for Stability
With the machine theoretically level, push down firmly on each corner of the top of the washer. The machine should not rock or wobble. If it does, repeat the leveling process for the unstable corners. A stable machine will not move when pressure is applied to its corners.
Step 8: Reconnect and Run a Test Load
Once you are confident the machine is level and stable, carefully push it back into its original position, making sure not to disturb the feet. Reconnect the water supply hoses and the drain hose. Open the water supply valves. Plug the washing machine back into the electrical outlet.
Run a small test load, perhaps just a few towels, on a spin cycle. Listen for excessive noise and observe for shaking. If the machine still shakes, you may need to make further fine adjustments to the leveling feet. If your washing machine won't spin clothes dry, even after leveling, the issue may be internal and require further diagnosis.
How to Level a Washer on an Uneven Floor
Sometimes, the floor itself is the main problem. If your floor has significant dips or slopes, adjusting the leveling feet alone may not be enough. Here are a few strategies for how to level a washer on an uneven floor:
-
Use Wood Shims: For minor unevenness, place thin wood shims under the low feet. Cut the shims to size so they are not visible from the front or sides of the machine. Make sure they are stable and do not slip.
-
Anti-Vibration Pads: Rubber anti-vibration pads can be placed under each foot. These pads not only help absorb vibrations but can also be stacked (carefully) to compensate for minor floor irregularities. They are particularly useful for how to level a front load washing machine on an uneven floor, as front loaders often have stronger vibrations.
-
Plywood Base: For severely uneven floors, consider building a sturdy plywood platform. This platform should be perfectly level and large enough to support the entire washing machine. You can then place the washer on top of this level base and adjust its feet as usual.
When to Call a Professional
While leveling your washing machine is a common DIY task, there are times when professional help is needed. If you have followed all the steps for how to level a washing machine and it still shakes or makes excessive noise, the problem might be an internal component. Issues like worn-out shock absorbers, a broken suspension spring, or a damaged drum bearing can cause similar symptoms.
Calling an appliance repair technician usually costs between $80 and $150 for a service call, plus the cost of parts and labor. It is a worthwhile investment if the problem is beyond a simple leveling adjustment. For general home appliance maintenance, regular checks of your washer's levelness can prevent these larger issues.
Maintaining a Level Washing Machine
After successfully leveling your washing machine, perform periodic checks to make sure it remains stable. The vibrations from regular use can sometimes cause the leveling feet or their lock nuts to loosen over time. A quick check every six months can help prevent future shaking and noise.
Also, make sure you are loading your washing machine correctly. Overloading or unevenly loading the drum can cause temporary imbalances, even on a perfectly level machine. Distribute clothes evenly around the agitator in top-load washers, and avoid stuffing front-load washers too full. If your washing machine smells like mildew, that is a different maintenance task entirely, unrelated to leveling but important for overall machine health.
Conclusion
Learning how to level your washing machine is a practical skill for any homeowner. It protects your appliance, reduces noise in your home, and extends the lifespan of your washer. A stable machine is a happy machine, and a quiet laundry room is a happy home.


